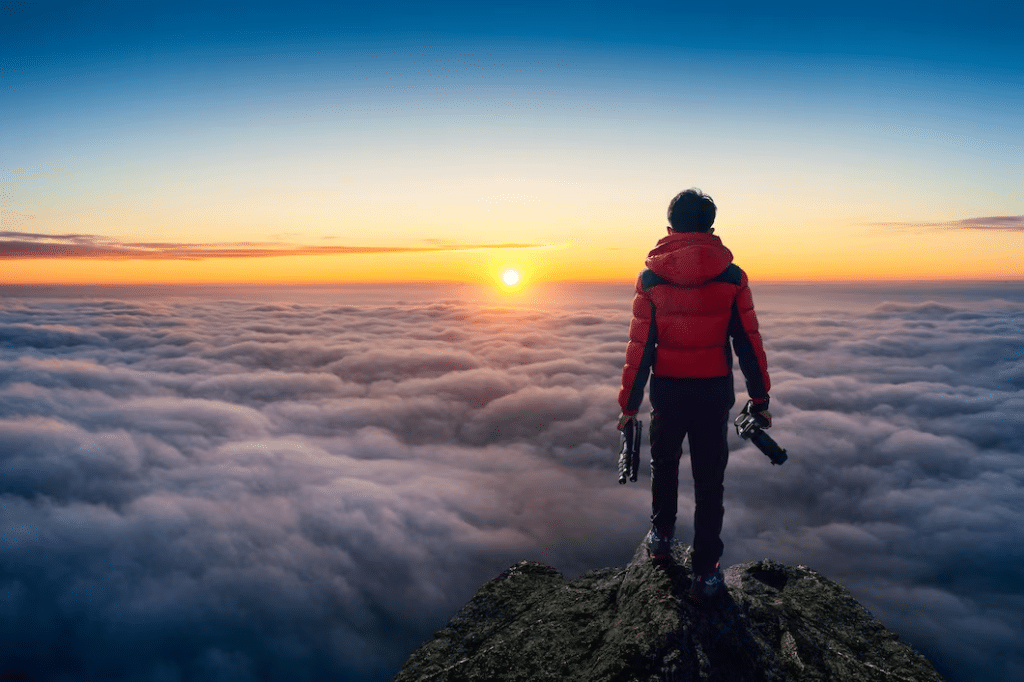
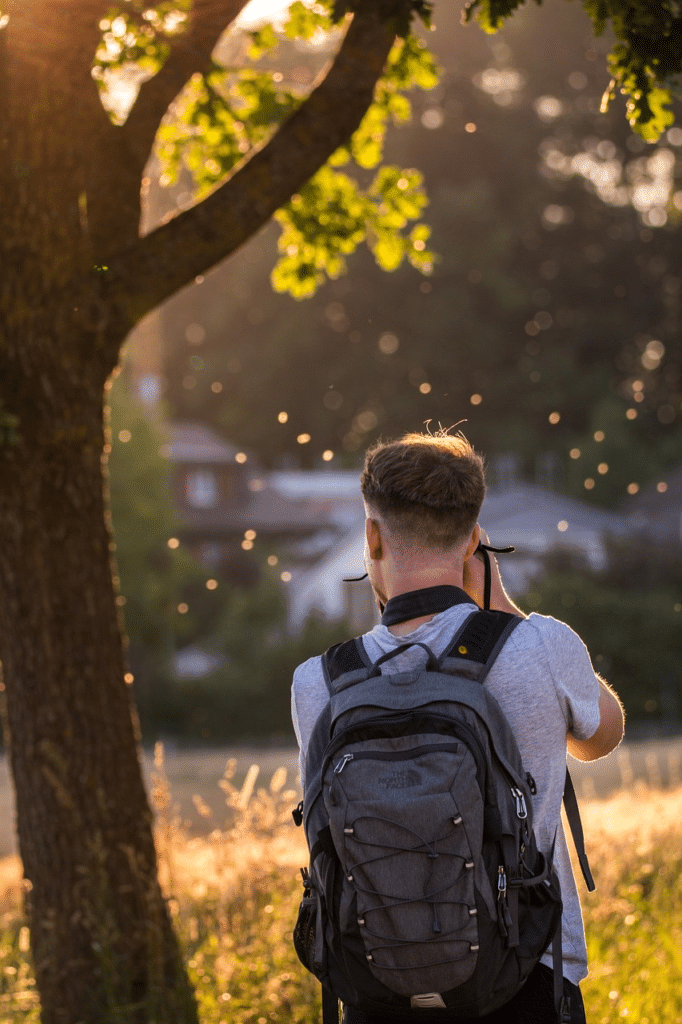
Why Photography?
Taking pictures is an exciting and entertaining process with better results. The good news is that getting started is now simpler than ever. The days of requiring improvised darkrooms or waiting for hours on end to snap a single picture are long gone. Anything that catches your attention can be snapped away with passion. By learning and developing into the future generation of professional photographers, you can have the best way of possible career. In this blog you will discover the 22 Essential Photography Tips for Beginners.

With the significant reduction of the technological barrier, we now have more time to devote to the next level of learning how to shoot high-quality photos, and the number of new photographers and beginner photographers has surged with many high-quality shots. To help you develop your photography skills of capturing good pictures without getting too technical, we’ve put together a list of 15 essential photography tips for beginners. There’s lots to take in as a new photographer who may work in any type of photography. so, Let’s Jump into the sections you need the most help on below.
Key factors
There are three key factors to take into account if you wish to take amazing pictures. Initially, you need to consider the light. The key component of excellent photography is good light. You cannot take quality pictures in low light. It is also better to know about manual mode and automatic mode.
Secondly, you have to pick your composition wisely. The main elements of the frame are arranged according to a composition. Do you include a primary subject, for example? Does your shot have it in the center? or to the side? What gives your picture a balanced appearance is composition. That is the reason why it appears visually pleasing.
A meticulous composition is also necessary for a beautiful photo. Post-processing is the third (and last) thing you need to perform. Stated differently, if you want your images to look amazing, you will need to edit them.
Since you may highlight particular hues. Editing your photographs can truly stand out on the page by editing them. Notably, post-processing is not required in large quantities. However, you ought to make it a practice to edit each image in your portfolio a tiny bit.
21 essential photography tips for beginners
Many of us can now capture fantastic, professional-looking photos because of smartphones. Nonetheless, the first step in our process is to grasp the fundamentals of photography, such as lighting and composition for good photos which has been discussed earlier.
Learning the Basics of Photography – Camera Settings
Mastering camera settings is crucial in photography. Exposure is the key to capturing great pictures. Aperture priority mode, shutter speed, and ISO (The International Organization of Standardization) work together to create an exposure by controlling the amount of light reaching the sensor. Before taking a picture, it’s important to find the appropriate balance of these settings. Photography guides that explain the basic concepts of aperture/aperture priority mode, shutter speed, and ISO will help you apply them creatively in your photography journey. As you progress, you can gradually add more camera accessories to your kit bag.
Commence with the Basic Equipment
The variety of photography gear that is currently on the market is incredible. Every day, larger sensors and more powerful processors are added to new cameras and that creates close attention among the photographers. Everyone wants better and larger equipment. But keep in mind that a photographer is not defined by their camera. To generate the vision in your mind, you should be able to operate the equipment by being aware of the photography basics. This is a fundamental photography tip that is easy to understand but difficult to put into practice. You can start taking pictures with a DSLR, normal camera, or even your smartphone.

For beginners and hobbyist photographers, an entry-level DSLR (Digital Single Lens Reflex) is a compact camera that is recognized to perform well. The rationale for this is that they are easier to handle, comprehend, and carry along than other products. To see the top DSLRs available for beginners, click this link. Invest in a small tripod so you can hold your camera steadily on a platform.
Make Use of the Right Lens
When it comes to photography, selecting the right lens is essential for capturing sharp and perfect images. A lens plays a significant role in determining the quality of the picture and enhancing the desired effect of your visual interest. Before taking any shot, the first thing is to ensure that the lenses are clean and avoid cleaning them from the inside to prevent damage. Different lenses are used in different situations. For instance, if you frequently shoot small objects or insects, you will need a macro lens to capture the details and make the object appear larger.
There are two types of lenses: Zoom Lenses and Prime Lenses. A Prime Lens has a fixed focal length, while a Zoom Lens has a variable range of focal length. With Prime Lenses, you need to move back and forth with the camera to view your subject, whereas a Zoom Lens allows you to stand in one position, and its focal length will adjust to mark the distance.
A Prime Lens provides a shallow depth of field, making it ideal for low-light photography. It also offers the best results of sharpness and image quality. On the other hand, a Zoom Lens offers versatility, and portability and is an all-in-one, less expensive option. Depending on your requirements, choose your lenses wisely and carefully so that they can serve you in most of your working situations.
The creative way in the best way
Photography is an art form that serves as a great mode of communication. Often, a photograph can depict emotions more effectively than words. The key lies in the creativity one employs while capturing an image. By incorporating strong visual elements such as colors, lights, objects, and shapes, the picture can become more attractive and meaningful to the viewer. Adding these details brings texture to the image and helps to showcase the visuals in an impactful way.

For instance, capturing an image of an early morning, the natural light with the tree branches where your focal point could be anything but in a creative way in the best way.
Discover The Rule of Thirds
The Rule of Thirds is a fundamental composition technique in photography, which is widely used by photographers to create visually appealing images. It involves dividing the image into a 3×3 grid by using four imaginary lines, with two vertical and two horizontal lines. This creates nine equal parts, where the four intersection points of the lines serve as the focal points of the image.
The Rule of Thirds is based on the principle that placing the subject or points of interest on the intersection points of the grid makes the image more visually appealing and balanced. The human eye tends to naturally gravitate towards these points, rather than the center of the image. This technique can be used in a wide variety of photographic genres, including landscapes, portraits, and still life.

By using the Rule of Thirds, even amateur photographers can create a more dynamic and interesting composition, which captures the viewer’s attention. This technique allows photographers to guide the viewer’s eye through the image, leading them to the most important elements of the photograph. It’s a simple yet effective way to add depth, balance, and visual interest to your photos.
Rule of Thirds is a powerful tool for photographers that can help them achieve more professional and compelling images.
Say hello to the histogram
Histograms are now an essential tool for capturing the ideal shot thanks to advancements in digital camera technology. You can host a histogram in almost all high-quality photo editing programs. And today, for optimal in-camera results, contemporary digital cameras are beginning to include this technology. A histogram is a fascinating yet perplexing graph that shows up while editing photos for many people. Those who are new to photography may usually get by without ever consulting it.

It is a type of graph that shows the tonal values of an image (in editing apps) or a scene (in camera) exactly and clearly. Essentially, a histogram displays exposures, color values, and the tonal values of a picture. It showcases the distribution of brightness levels, ranging from deep shadows to bright highlights.
Say no to Camera shake
You come across taking pictures of breathtaking landscape photos that are serene, calm, and flawless. For better photos, one of the most important things is not to shake the camera. Else, whatever the different angles you try the picture will result as blurrrrr……. You wonder what went wrong and realize that you forgot to stabilize your camera, causing it to shake while taking the shot.
That is when the tripod comes in handy. There might be a few places where you can’t use the tripod all the time but when you are gonna click. Remember these magic words Hold your camera, then hold your breath, aim, and click. You will get the breathtaking picture you ever want.
Understand How to Use Filters
As a beginner in digital photography, it’s important to know how to use camera lens filters to enhance the quality of your photos. Filters are used to improve texture and make pictures more eye-catching. There are different types of filters that you can use such as Linear & Circular Polarizer filters, which are used to reduce glare and improve saturation. They’re suitable for capturing sky, water, and foliage in landscape photography. Neutral Density (ND) filters help to extend exposure time and are mainly used for capturing waterfalls and rivers under bright light.
Graduated Neutral Density (GND) filters control strong light gradients and reduce vignetting, making them ideal for capturing dramatically lit landscapes. UV/Haze filters help to improve clarity in a great way provide lens protection and can be used for any subject matter. Lastly, Warming/Cooling filters are used to change the white balance and are suitable for capturing landscapes, underwater scenes, and special lighting or special effects.
Make Gobo lighting effects
Lighting has always been crucial to achieving the ideal atmosphere, tone, and aesthetic appeal in a variety of contexts. Over the years, lighting professionals have used a variety of tools and techniques to create amazing effects for everything from corporate events to theatrical plays.
“The gobo is one such instrument that has become quite well-liked in the lighting sector. The term “gobo” may have sprung from the words “go-between” or “go-before,” as it was first used in movie studios in the 1930s. Any opaque panel or flat positioned between a light source and the subject to manipulate light effects, cast shadows, or manage reflections was originally referred to as a gobo.”

This method was popular in studio photography because it helped photographers improve their compositions and produce striking shots. The idea of a gobo developed further as lighting equipment became more complex and technology advanced. Gobos were first employed in theatrical applications in conjunction with projectors and light sources to produce lighting sequences, animated shapes, and lighting effects for buildings.
Lighting designers may create precise control over the projected image and create sharp, edged patterns or concepts by positioning gobos at the “point of focus” or in “the gate.”
Customize your color parameters
Achieving good color in your photographs is not just about getting the white balance right. Your digital camera allows you to set a color profile that adjusts the tones in your images according to your personal preferences. This can save you a lot of time in post-processing. Most cameras have presets like “standard” and “vivid,” along with several customization options.
Before you start shooting, you can change the factory settings of your camera. You can adjust the camera’s contrast, sharpness, saturation, and tonal adjustments to suit your needs. This is similar to what old-school photographers used to do when choosing a specific type of film. Some films had richer reds, some had more contrast, and some were grainy. Different situations require different levels of contrast, saturation, etc. By getting used to adjusting these settings, you can push your creative possibilities.
For the baby photos, use a wider aperture prime
Most parents desire to have beautiful portraits of their babies, and one way to achieve that is by using a shallow depth of field to add a lot of background blur, which emphasizes the softness and fragility of the subject. There are only a few options available for shooting baby portraits, such as lying them on their backs, trying them on their tummies, or asking their parents to hold them. However, these limitations can be a blessing as they force you to focus your attention on perfecting the shots while working with what is available.

Using a prime lens with a wide maximum aperture, such as a 50mm f/1.4, comes in handy here. The wide aperture allows for shooting with a narrow depth of field, picking out details while blurring everything else. Wide apertures are also great for working in lower light, making them perfect for window-lit portraits where the light can be relatively low.
Younger babies, like two-month-old, won’t be crawling or sitting up on their own, which means you can focus precisely and take a little time over framing the shot. On the other hand, it also means that you’re restricted in the types of poses you can try.
Avoid checking the photos on the LCD screen
When taking photos outdoors, it’s common to check the resulting shot on your camera’s LCD screen. However, this habit can be misleading and may cause you to miss the perfect moment. It is a fact that the camera’s screen doesn’t always accurately represent tonal details, especially in shadowy areas. Reflections on the screen or surrounding lights can also create the illusion of incorrect exposure. As a result, photographers may adjust the controls to make the scene lighter, leading to overexposure.
To avoid this, it is recommended to use a photometer in spot-metering mode. Choose the lighter side of the scene to set the metering. If you don’t have spot-metering mode, try underexposing by 2/3, and don’t rely on your camera’s screen results. Wait to check the exposure on your computer in a low-light room. Correct exposure results in more saturated colors, and better contrast, and provides more room for processing, making it unnecessary to manipulate the image further.
Improvise the captured carefree photos
Based on the capacity of a photographer, if only you were concerned with getting the perfect shot and continued to be aware of every photo, you would eventually lose control. Allow your thin fingers to follow the natural course. Seize without hesitation or “if not.” Take pictures of anything that piques your interest and don’t worry about the outcome. Once you capture that one priceless moment on camera, use highlights and post-processing to make the final image look even better. Once editing is complete, review the small details and move on. Your work of art is prepared for admiration by opting for the right place.
Consider using close-up macro filters.
There are various techniques to capture close-up shots, where small subjects appear larger in the image. The most common first try method is using a macro lens which can be quite expensive and bulky. However, there is an alternative option that is more affordable and less bulky, which is using a close-up filter.
Close-up filters are correction lenses that can be screwed onto the front of your existing lens. They work like magnifying glasses and can be used individually or combined for a stronger effect. They come in sets of three and are available in both round screw types and square filter systems like Cokin. Therefore, if you are looking for a lightweight and low-cost way to shoot macro-style pictures, a close-up filter could be an ideal solution.
Emphasis on Lighting
Balanced lighting is a crucial element for capturing a good photograph. Adequate lighting is not just limited to capturing moon, sunsets, or starry skies, but it’s also the art of manipulation. A Skilled photographer knows how to use light to their advantage based on the circumstances. Whether shooting in natural or artificial light, understanding how to use it can make your pictures stand out.
Golden hour photography is a magical time in the morning and evening when the sun is at a low angle, providing photographers with a unique quality of light that makes their photos pop. In darker lighting conditions, artificial lights are required more than natural ones to create clarity in the picture. By using extra light on your subject, you can fill in the unflattering shadows and create contrasts, even in ordinary locations. For handheld pictures, using flash is preferable to waiting for the bright light to shape up. For instance, Wedding photographers can better understand the impact of artificial light on a fast-moving wedding photoshoot.
Use L-Bracket vertical lines
Not all tripod heads are well-suited for vertical shooting, especially when using large and heavy camera and lens combinations. An L-bracket is a solution to this problem, as it allows you to mount the camera sideways on the bracket while still attaching the bracket to the tripod head normally. This is also useful for horizontal panoramic shots.
If you’re a landscape photographer looking to make a living from your work, it’s important to consider shooting in both landscape and portrait orientation. This doubles your chances of making sales, as people buying photos for print are typically looking for a photo that fits onto a single page (requiring a longer vertical edge) or that spans across two pages (requiring a longer horizontal edge).
Tripods are mainly designed for horizontal shooting. Once you’ve set up the legs so that they’re level, you screw the base plate into the camera and it sits on top with the center of gravity of the camera above the tripod. To shoot vertically, ball heads have an indent that the attachment to the baseplate slots into. However, this means that the weight is now off-center and the camera has moved to a new position, requiring recomposition. Fortunately, this problem can be solved quickly and easily by adding an L-bracket.
Learn the technique of Straight Lines
The use of straight lines can convey a range of moods to viewers, and everyone has their own unique interpretation. Both vertical and horizontal lines can be used to create interest, and if you place a line in the center of a picture, it will divide the image in half and tell two different stories.
Straight lines can have a dramatic impact on viewers, like a tree split in half vertically. They are a perfect choice for a classic background and are the easiest way to express your thoughts through your photographs. Once you start looking at straight lines, they become impossible to ignore. They build a composition in the viewer’s mind, so it’s essential to compose your shot correctly because editing cannot fix them in the same natural way.
Tips For Portrait Photography
Using photographic methods including composition, lighting, and posing, portrait photography seeks to portray the essence, identity, and personality of a subject. The subject matter and manner of a portrait determine the different kinds of portrait photography. For professional use and publication, certain portraits, for instance, are more formal and traditional. Some portrait styles are more informal, including lifestyle portraiture, which shows persons as they go about their daily lives.

Here are some quick photography tips for beginners who are trying to use portrait mode:
– Frame your subject to provide a theme to the picture.
– Use wider angles to capture better and more memorable shots.
– Be playful with the background.
– You don’t have to frame the picture vertically only; you can also go for horizontal even in portrait mode.
– Find an angle to hold your camera.
– Play with the subject to fill the background.
– Try to use natural lighting if possible.
Be with your camera all the time
Among the best photography tips, always carry smartphone cameras, regular camera, or DSLR with you so that you can capture treasured moments and possibly create some amazing candid shots. In today’s digital age, image sharing, and online presence are crucial to highlight your talent as the best photographer. Therefore, it is important to protect your images from unauthorized use or theft to maintain control over your work’s value and artistic creations.
Photography Classes For Beginners
One of the most effective ways to improve your photography skills and gain valuable experience is by enrolling in a photography class. These courses can vary in cost (and some are available for free) and can be taken online, from the convenience of your home. Through these courses, you will get to know the ins and outs of photography with the best photography tips related to Adobe Lightroom, uses of color temperature, composition tips, etc.,
Types of photography classes and potential sources to find them may include:
• Online courses
• Community college courses
• Private, instructor-led courses
• Courses offered by community or civic centers
• Programs offered by camera stores
• Programs offered by local photography clubs
Keep the Camera spotless
Here are some useful photography tips for beginners to help keep your camera protected and in good working condition:
1. Always keep the camera clean and protected to photograph better and more efficiently.
2. Avoid using rough surfaces to clean the lenses. Instead, use a microfiber cloth and a dust blower.
3. Make sure that the camera body and memory card are secure before use.
4. To prevent any damage to your camera, avoid exposing the front lens to water and rain.
5. Cover buttons and compartment openings with gaffer tape.
6. Avoid handling the memory card with wet hands.
7. Keep the memory card in its case to prevent it from getting lost or damaged.
8. Keep your camera bags and pouches clean to prevent dust from entering the camera.
9. To avoid moisture, you can keep silica gel in one of the pockets.
10. Use a damp microfiber cloth to clean the front lens and other lenses.
11. Avoid changing the lens in dusty and moist environments.
Following these tips will help you keep your camera safe and in good condition, ensuring that you get great photos with the best possible results from your photography.
Memory Card is must
No matter what kind of digital camera you use these days, you will still need some kind of storage where your media will be kept safe. You will often find yourself looking for ways to use memory cards or other external storage options to expand the amount of storage, even if some smartphones and tablets come with memory built in. Moreover, if you use a dedicated digital camera for your photography, you will find that it has no capacity at all, so you will need to buy a memory card or two to keep your pictures safe in the empty space of the memory card. That is where the process of selecting the best memory card begins.
It’s always a good idea to have at least two memory cards in your camera bag. This way, you won’t have to delete any images to make space during a long photoshoot.
Conclusion
I hope this guide, which offers basic photography tips for beginners, will assist you on your photography journey. As an artist, it’s important to remember that you have the freedom to experiment and discover new things. Explore your opportunities by exploring yourself. Obtain the right passion and cliche with the tips of photography and start to CLICK CLICK CLICK!! So, keep exploring and stay focused on the unseen. Great opportunities are waiting for you!