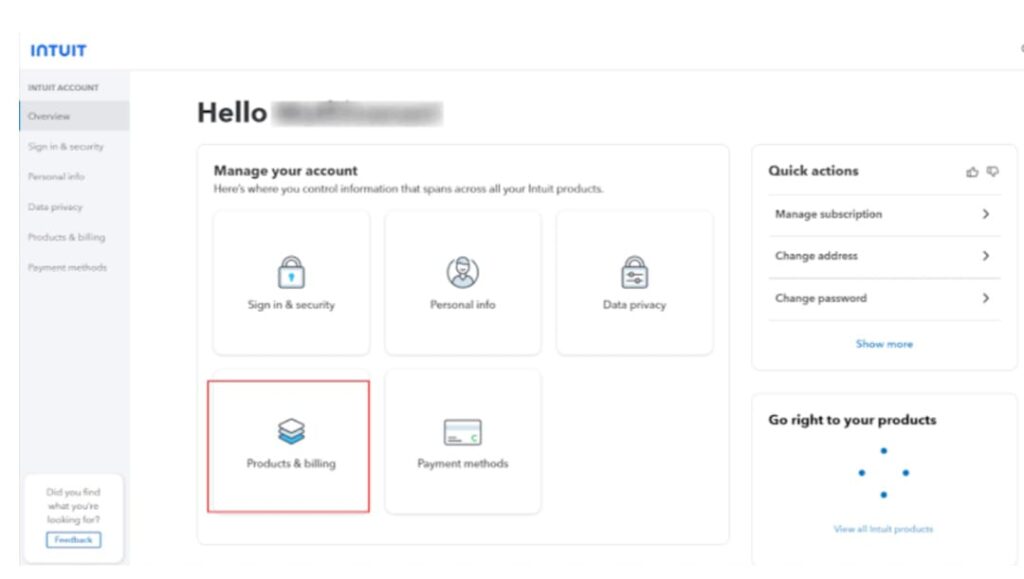
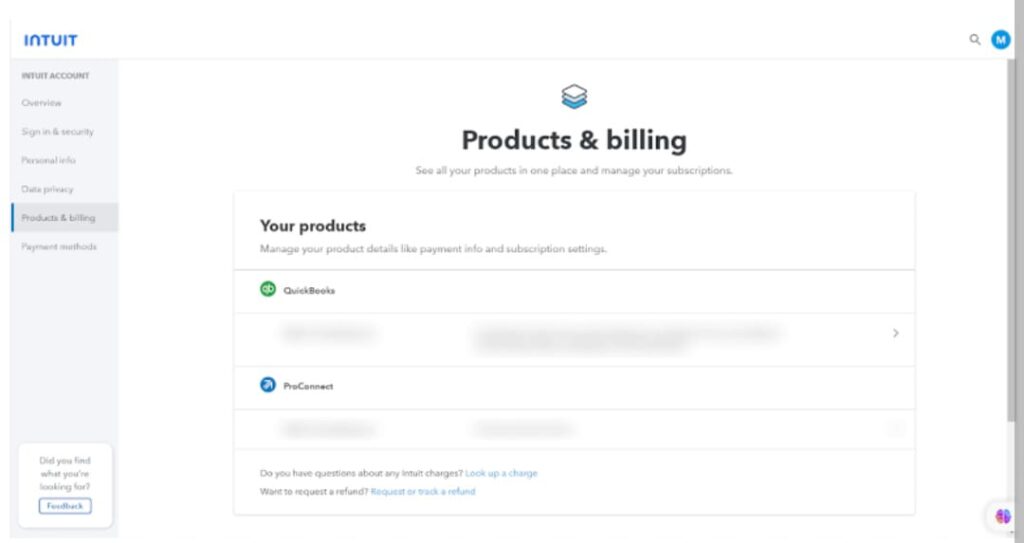
Cancelling a QuickBooks Online subscription is a crucial step for small businesses seeking to manage their finances efficiently. Whether you access your QuickBooks account through the latest version of your preferred browser, mobile app store, or desktop version, cancelling a subscription can be necessary to ensure you are making the right choice for your accounting needs. It could be during a trial period or after utilizing the software for a while, but understanding the simple steps involved in the cancellation process is essential.
By cancelling your subscription via your account settings or using the gear icon, you can halt automatic renewals and access read-only mode. This step is pivotal in managing your subscriptions, making informed decisions, and potentially finding a better alternative, all while saving on unnecessary costs. In this guide, we will walk you through the easy steps to cancel a QuickBooks Online subscription, ensuring you’re well-informed and ready to take the necessary actions for your financial management.
To cancel your QuickBooks Online subscription, follow these easy steps if you acquired a free trial from the Intuit website:
To cancel your QuickBooks Online subscription, follow these easy steps if you acquired a free trial from the Intuit website or QuickBooks Online subscription:
Accessing Your QuickBooks Account:
Open your preferred web browser, ensuring it’s the latest version, and navigate to the QuickBooks Online platform.
Logging In and Navigating to Account Settings:
Log into your QuickBooks Online account using your credentials. Locate and click on the gear icon (settings) typically found in the top right corner.
Accessing Subscription Settings:
From the dropdown menu, select “Account and Settings.” This will take you to the settings page for your QuickBooks account.
Managing Your Subscription:
Within the settings page, find and click on the “Billing & Subscription” tab on the left panel. Here, you’ll have options to manage your subscription.

5. Initiating Cancellation:
Look for the “Cancel Subscription” option and click on it to begin the cancellation process.
6 .Follow Cancellation Steps:
You will be guided through a series of steps to cancel your subscription. Provide any necessary information as requested to complete the cancellation p process.
7. Confirmation and Refund (if applicable):
After completing the cancellation steps, you should receive a confirmation email. Depending on your situation, you may be eligible for a full refund if within the trial period.
8. Ensuring Read-Only Access:
Following cancellation, your account may transition to read-only mode, allowing you to view but not edit data.
9. Contacting QuickBooks Customer Support (if needed):
If you encounter difficulties during the cancellation process, you can reach out to QuickBooks Customer Support via the provided toll-free number for assistance.
10. Exploring Better Alternatives:
After cancellation, consider exploring alternative accounting software solutions available on the Google Play Store, Apple App Store, or other platforms for a better fit to meet your business needs.

To cancel your QuickBooks Online subscription through the Apple App Store on your iOS device (iPad), follow these simple steps:
Accessing the Apple App Store and Checking Browser Version:
Open the Apple App Store on your iPad, ensuring you have the latest version of the app and your preferred browser.
Navigating to QuickBooks Subscription on your Mobile Device:
Tap on the “Search” tab at the bottom right and type “QuickBooks” in the search bar. Find and tap on the QuickBooks app to access its page on your mobile device.
Managing Your Subscription on QuickBooks Platform:
On the QuickBooks app page, tap on your profile icon or your Apple ID, typically located at the top right of the screen on the QuickBooks platform.
Accessing Account Settings and Checking QuickBooks Desktop:
Tap on “Subscriptions” to access your subscription settings and view your active subscriptions. Check your subscription plan, especially if it’s a paid subscription that includes QuickBooks Desktop.
Selecting QuickBooks Subscription and Reviewing Subscription Plan:
Locate your QuickBooks subscription from the list and tap on it to view details and manage. Review your subscription plan and understand the following steps for cancellation.
Initiating Cancellation and Verifying Google Play Store App:
Find and tap the “Cancel Subscription” option. Follow any additional on-screen instructions to confirm the cancellation. Ensure you understand the process, especially if you initially subscribed through the Google Play Store app on an Android device.
Confirming Cancellation and Understanding Support Process:
You should receive a confirmation email for the cancellation of your QuickBooks Online subscription. If needed, reach out to QuickBooks support team for assistance with payroll services or to clarify any concerns regarding automatic renewal or the unused portion of your subscription.
Ensuring Read-Only Access and Checking Payment Method:
After cancellation, your account may transition to read-only mode, allowing you to view but not edit data. Check your linked payment method and ensure any cancellation payments are processed accordingly.
Exploring Better Alternatives and Making Informed Decisions:
Consider exploring alternative cloud-based accounting software options available on the Apple App Store for a better fit to meet your business needs. Involve your team members in this strategic decision-making process.
By following these steps on your iPad through the Apple App Store and considering your Android device, you can easily cancel your QuickBooks Online subscription and make informed decisions for your accounting requirements.
To cancel a suspended quickbooks subscription
To cancel a suspended QuickBooks subscription, you’ll need to follow the steps provided by QuickBooks customer support or Intuit. The process might vary based on your specific subscription type and region. Here’s a general guide to help you cancel a suspended QuickBooks subscription:
Contact QuickBooks Customer Support:
Reach out to QuickBooks customer support through their official website or contact their toll-free number to inquire about the cancellation process for a suspended subscription.
Provide Necessary Information:
When you contact customer support, provide them with the relevant details about your subscription, such as your QuickBooks account information, subscription type, and reason for cancellation.
Follow Guidance and Instructions:
Customer support will guide you through the steps needed to cancel your suspended subscription. They may request additional information or verification to process the cancellation.
Verify Your Identity:
You may need to verify your identity and ownership of the account for security purposes. Be prepared to provide information that confirms your identity.
Complete Cancellation Process:
Follow the steps provided by the customer support representative to complete the cancellation process for your suspended QuickBooks subscription.
Receive Confirmation:
After completing the cancellation steps, you should receive a confirmation email indicating that your subscription has been successfully canceled.
Check for Read-Only Access:
Confirm if your account has transitioned to read-only mode after the cancellation, allowing you to view but not edit data.
Review for Any Additional Steps:
Be sure to check if there are any additional steps or actions you need to take to finalize the cancellation and any associated accounts.
Handle Billing and Payments:
If there are any pending payments or billing issues related to the suspended subscription, ensure they are resolved as per the instructions provided during the cancellation process.
Explore Alternatives (if needed):
If you’re looking for an alternative accounting solution, take this opportunity to explore other cloud-based accounting software options that might better suit your needs.
It’s important to follow the guidance and instructions provided by QuickBooks customer support throughout the cancellation process to ensure a smooth and successful cancellation of your suspended subscription.
After successfully cancelling your QuickBooks subscription, it’s crucial to understand what happens to your data. While you may lose the ability to create or modify new entries, your existing data remains accessible in read-only mode, allowing you to view and export it. QuickBooks retains your data for a certain period after cancellation, typically up to a year, enabling you to retrieve critical information.
However, temporary backup files, if stored within the QuickBooks account, can be deleted after ensuring all necessary data is saved externally. It’s advisable to back up any essential files before removing temporary backups to ensure you retain complete records of your accounting history. Make informed decisions regarding your data management and storage to guarantee a seamless transition after cancelling your QuickBooks subscription.
Check out our other quickbooks related articles to enhance your quickbooks knowledge like Adding your bank account to quickbooks and voiding an invoice in quickbooks


